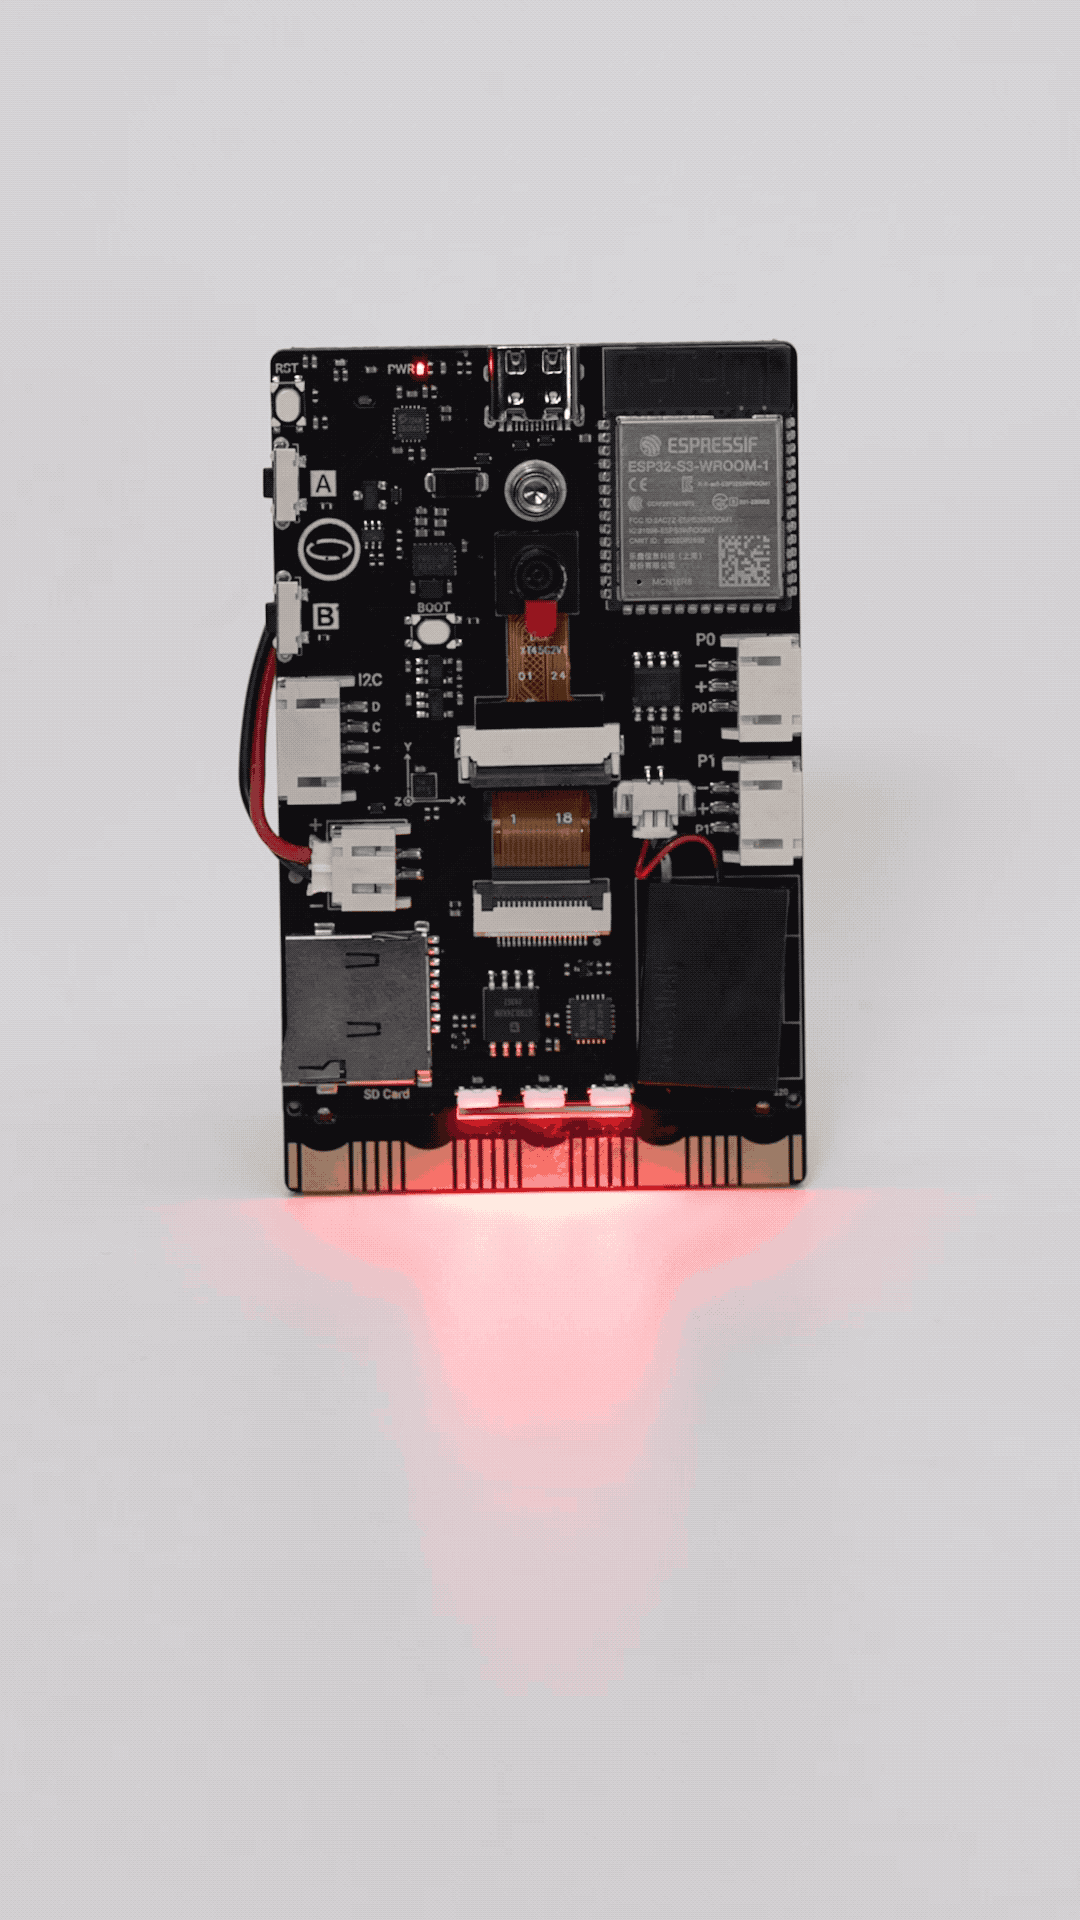
Mindplus Examples
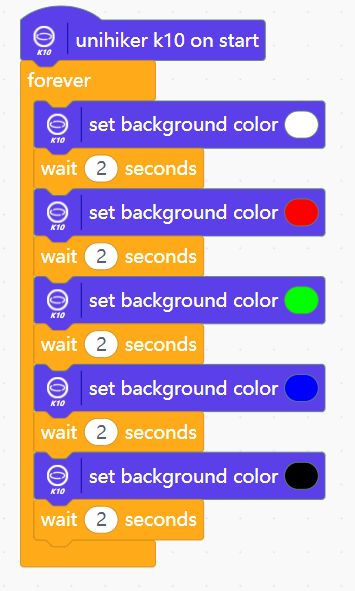
Display-Set Background Color
Setting the background color of the K10 screen
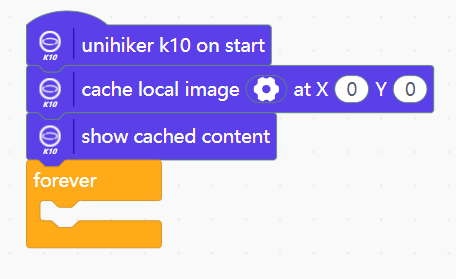
Display-Show local picture
Showing local picture
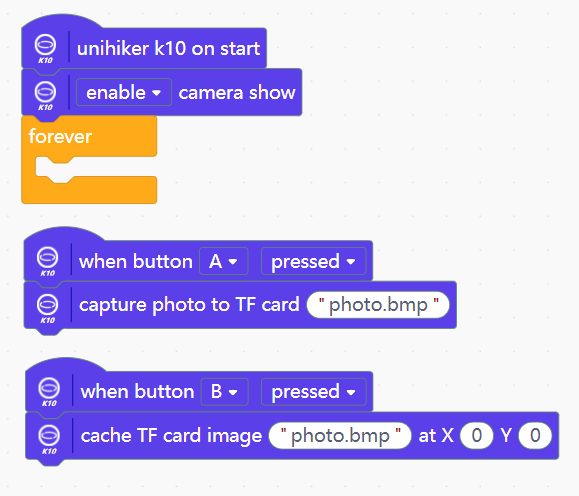
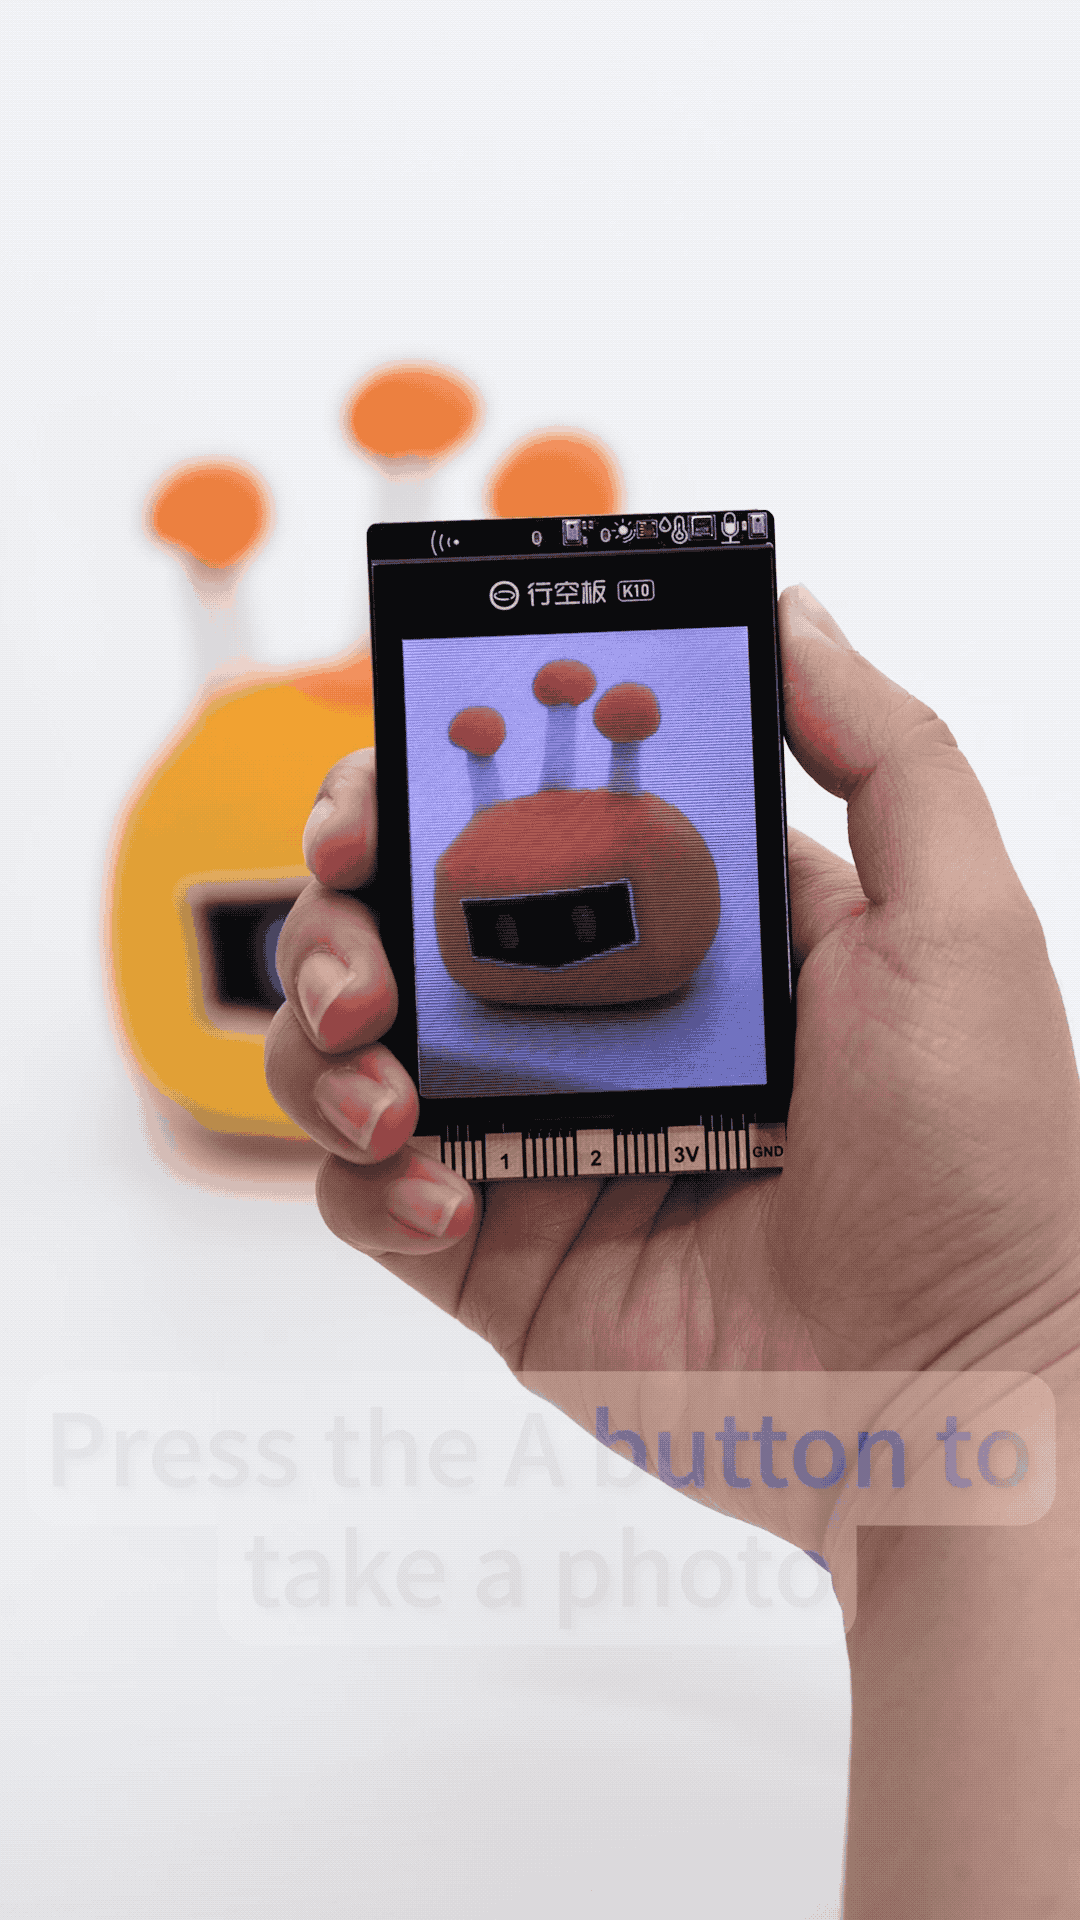
Display-Electronic photo album
Format the TF card to FAT32 and install it on K10. Press button A on the K10 to take a picture and button B to display it.
Display-Showing text

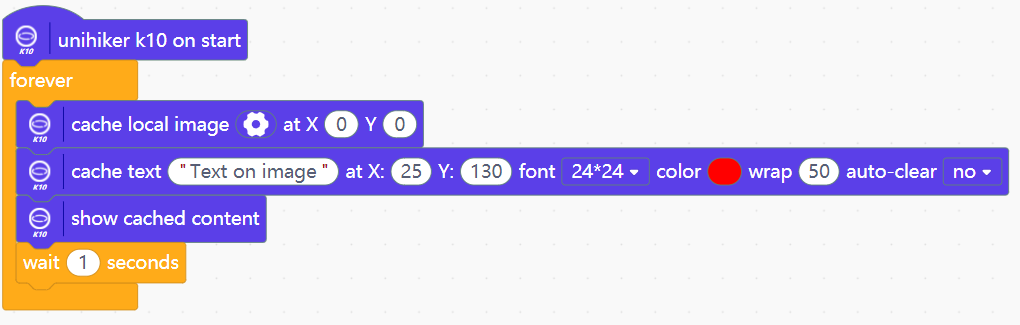
Display-Text on image
When displaying text over an image, turn auto-clear off and use a constant refresh of the image to overwrite the old content
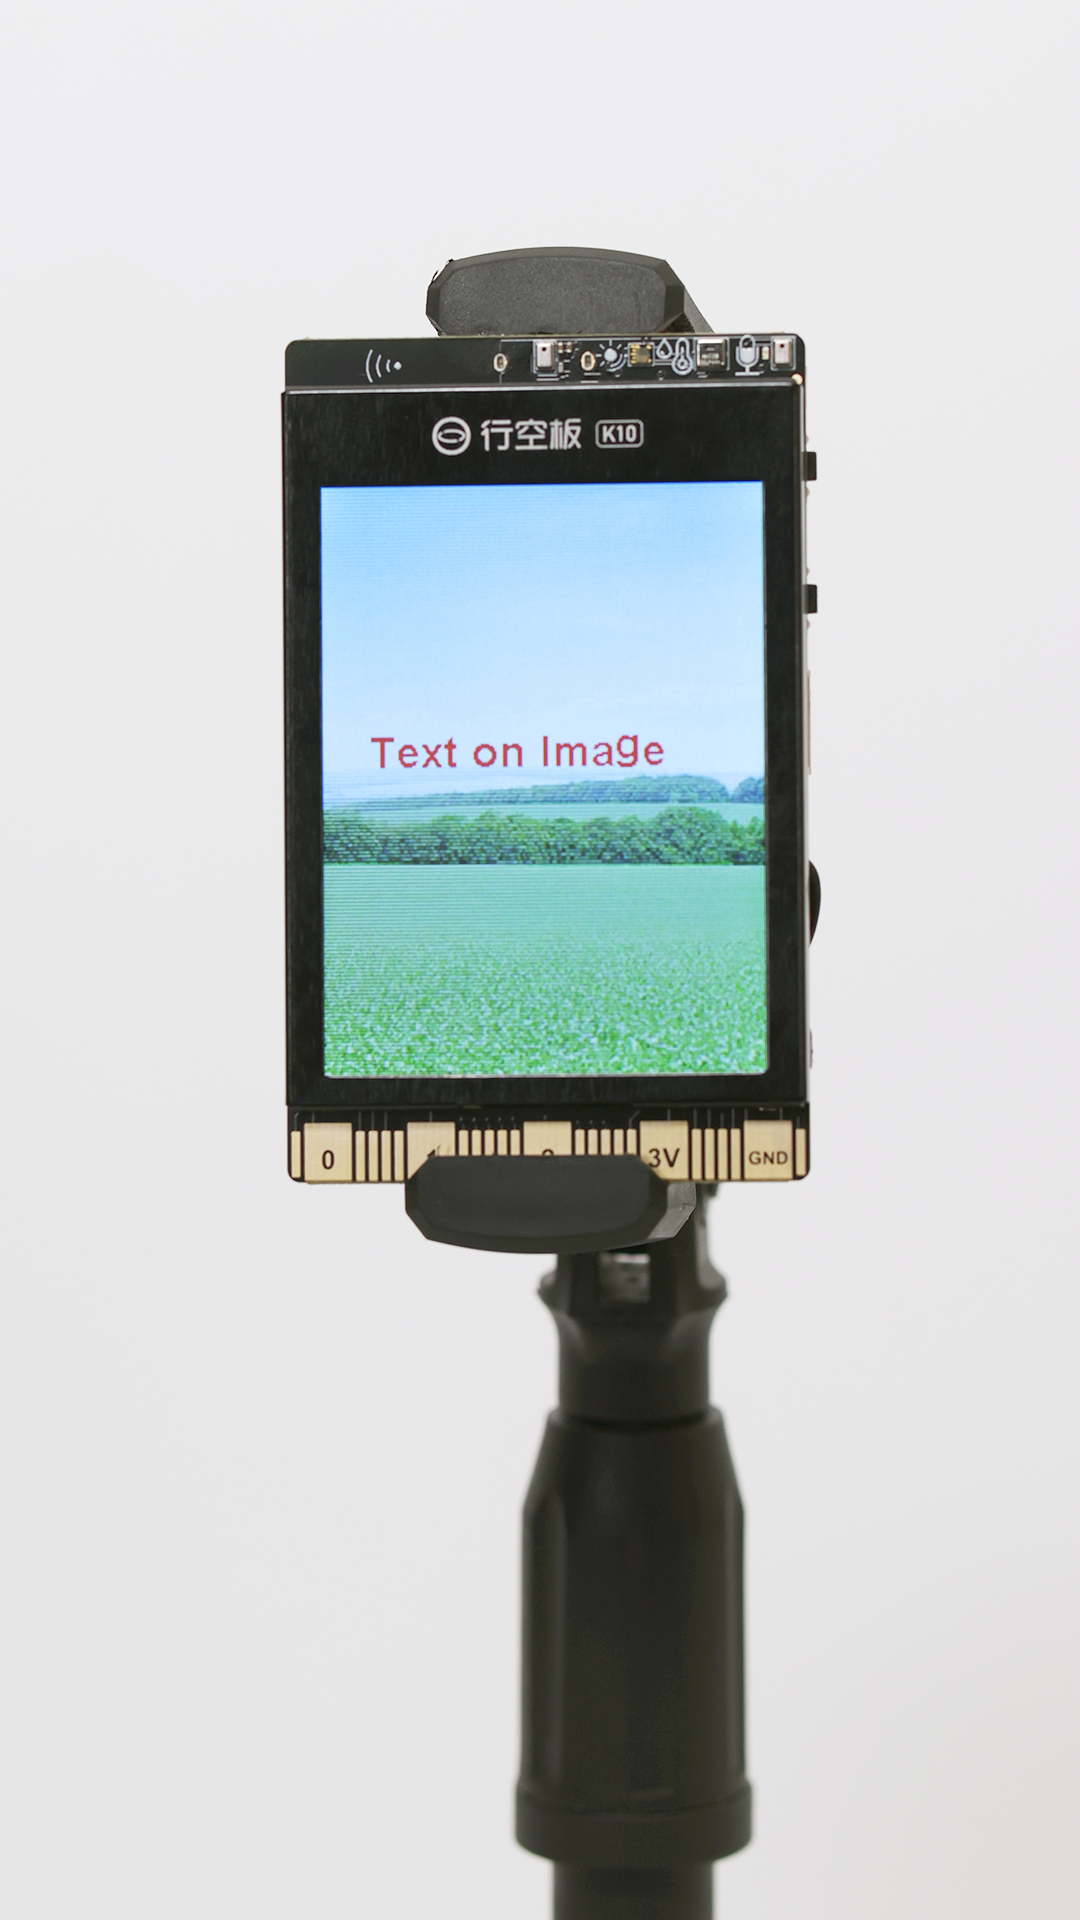
Display-Draw Point
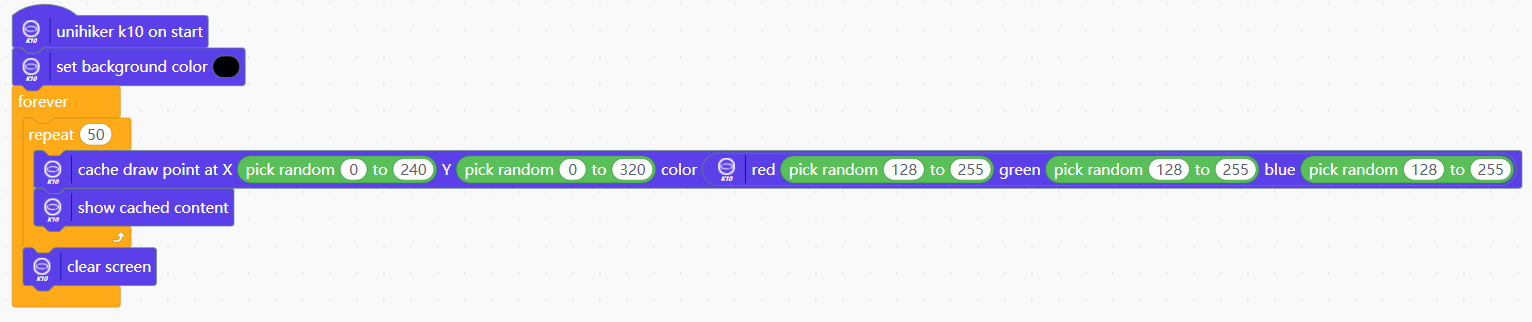

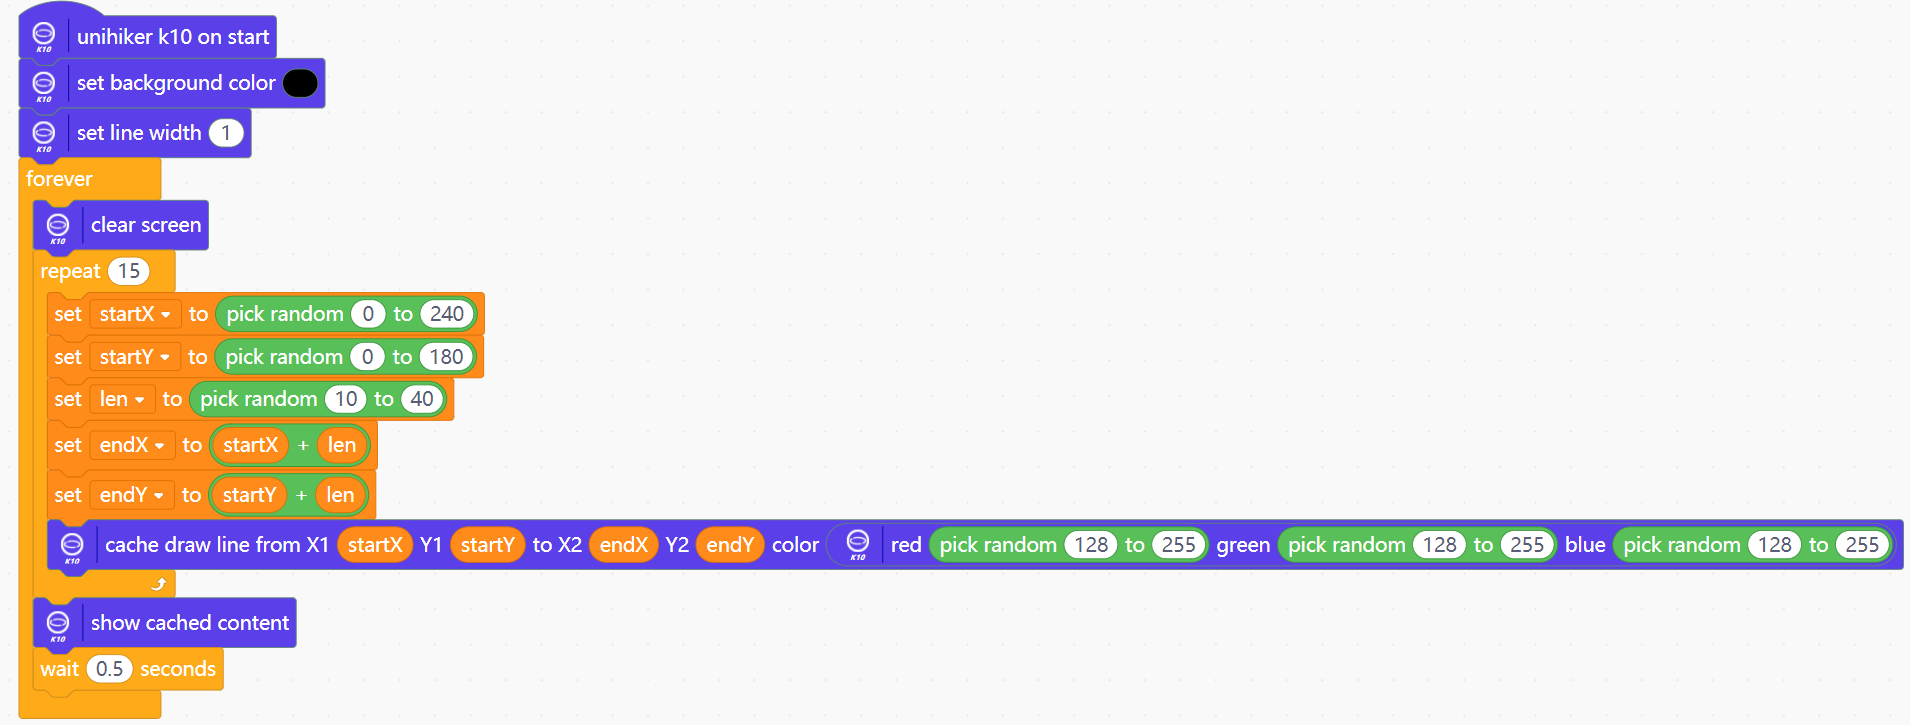
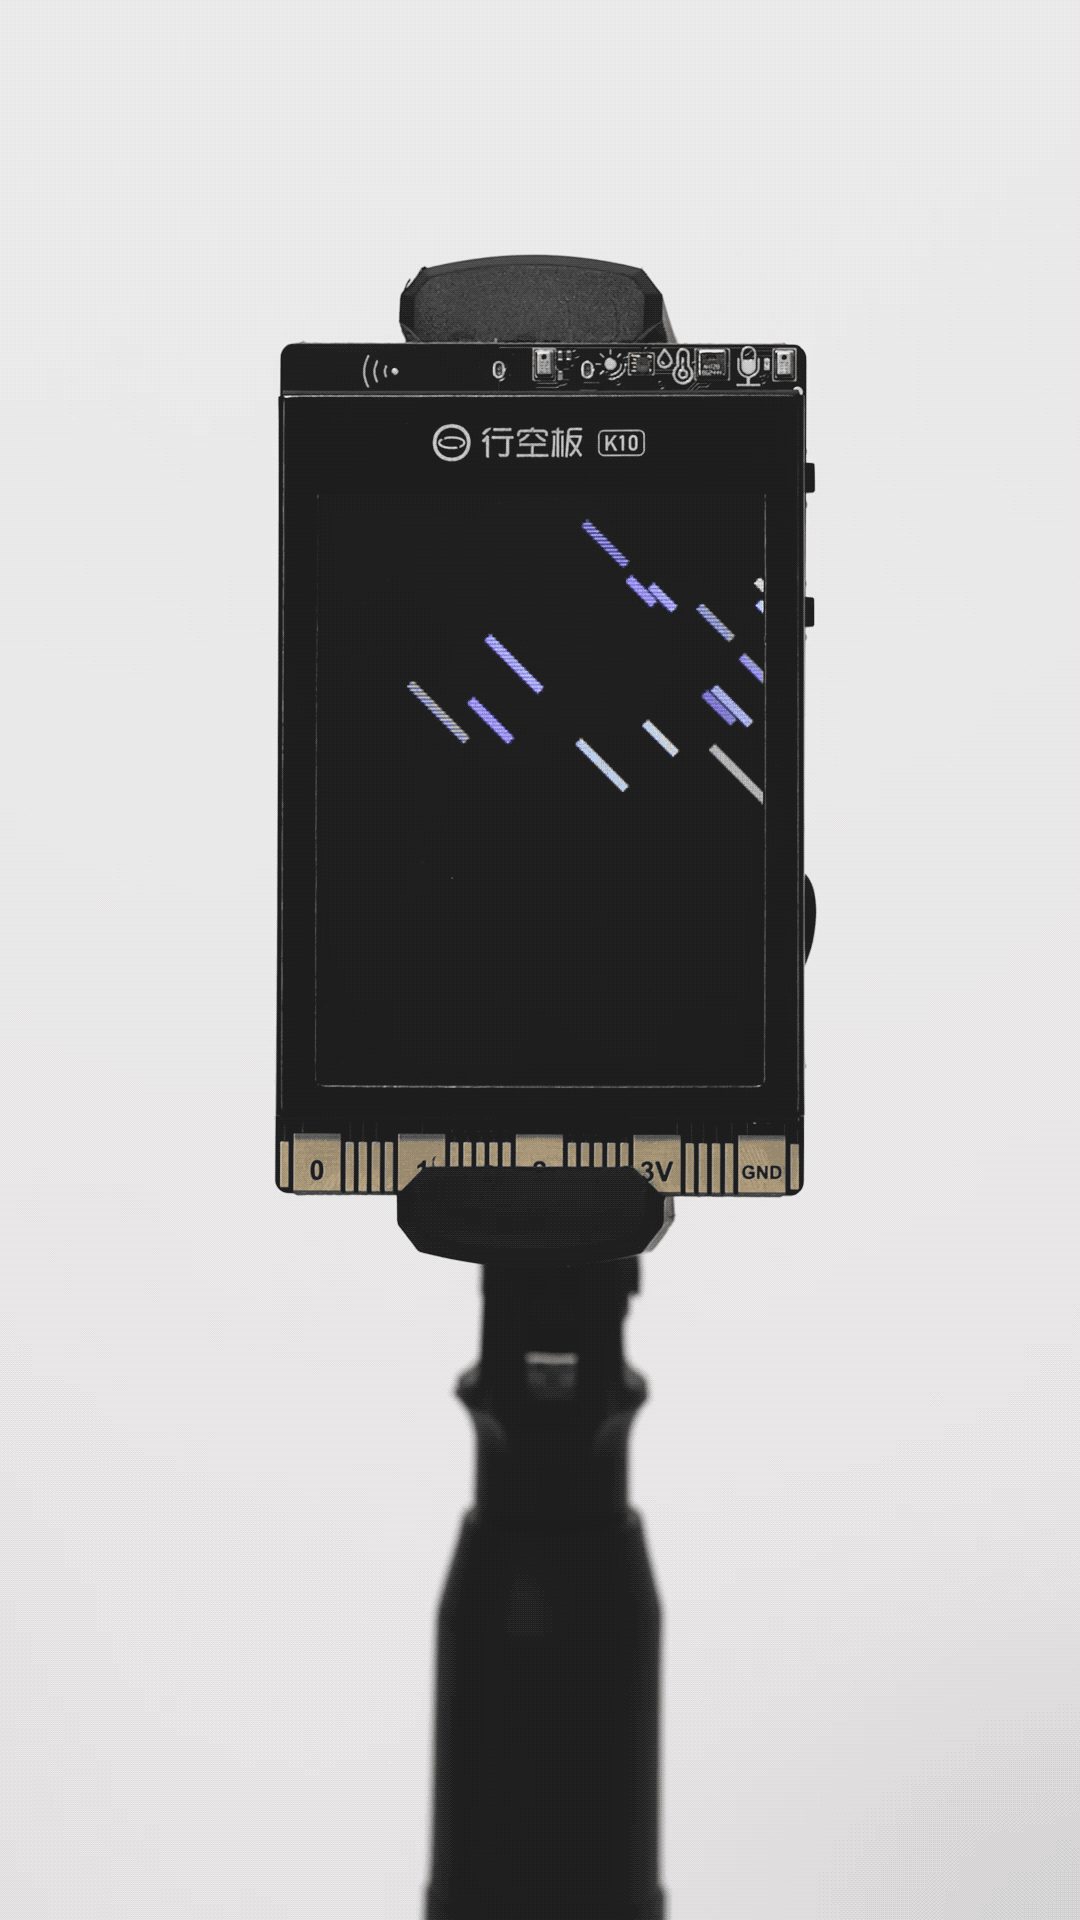
Display-Draw Line
Drawing funnels on K10:

Meteor shower on K10:
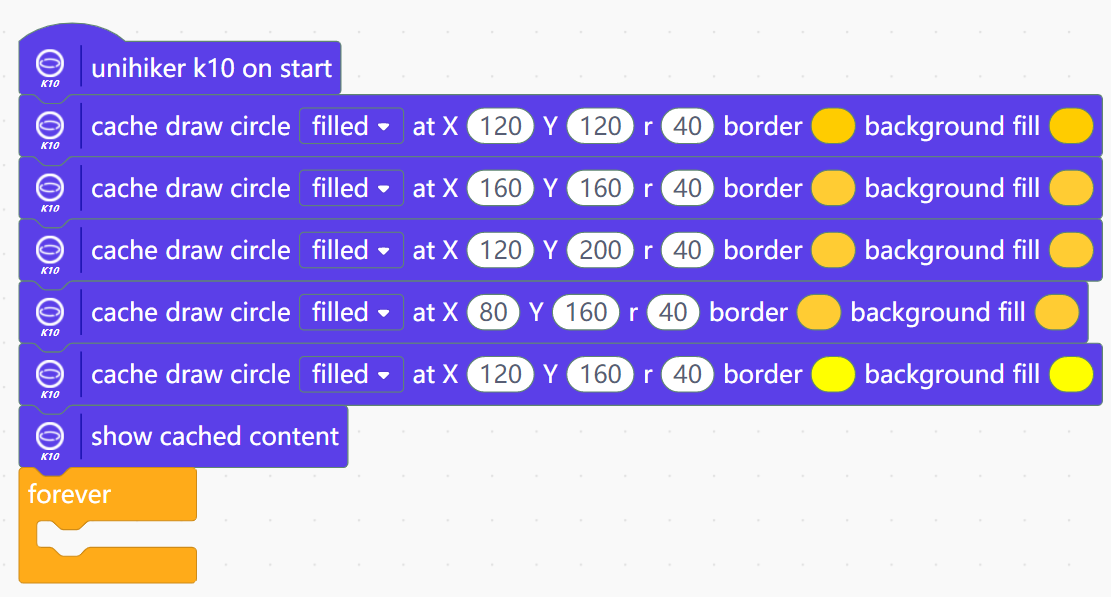
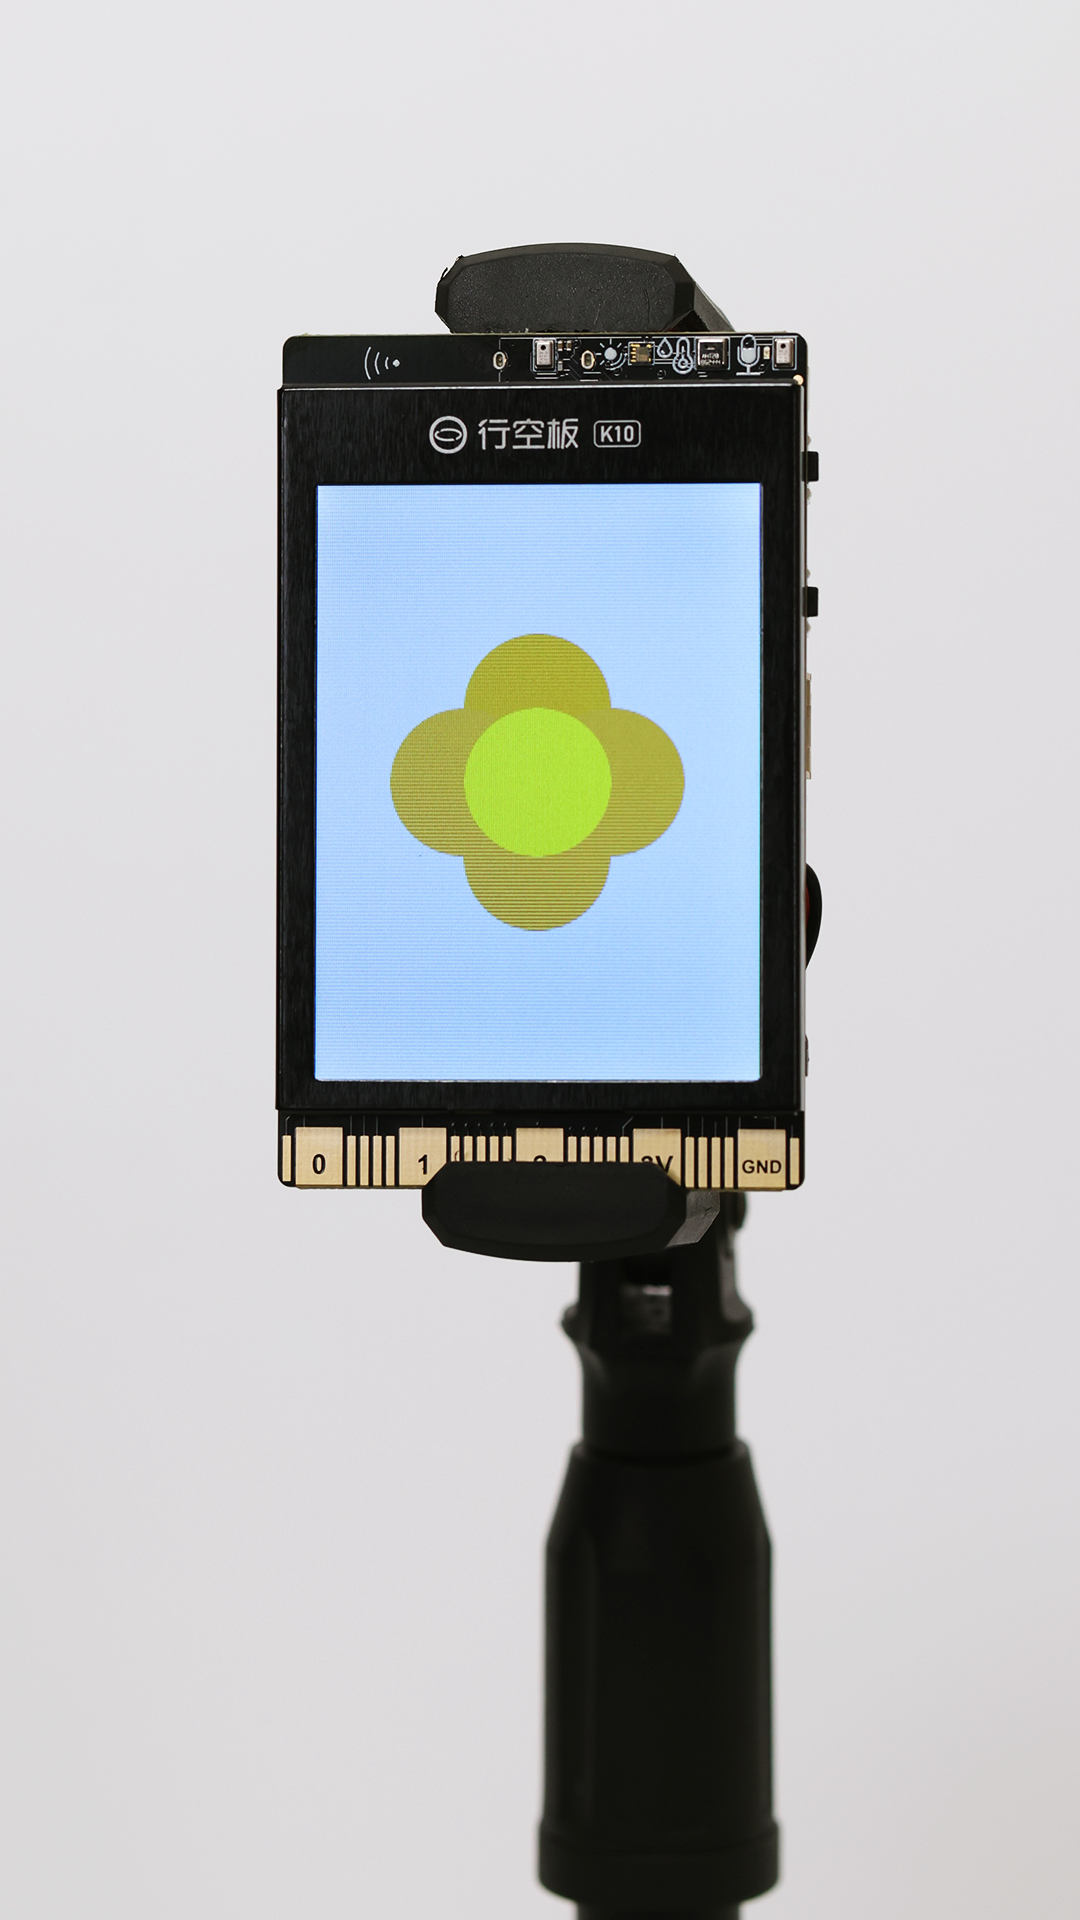
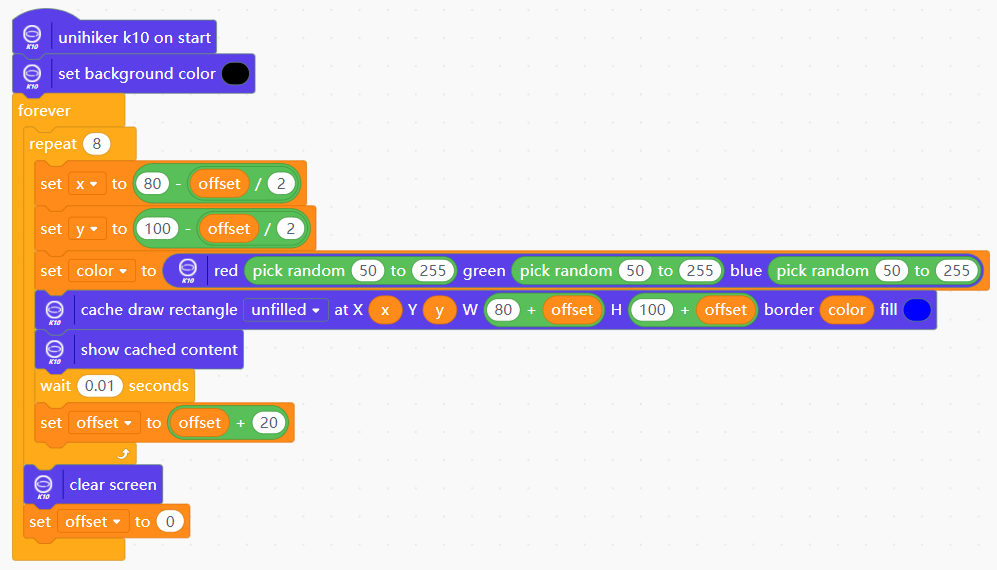
Display-Draw Circle
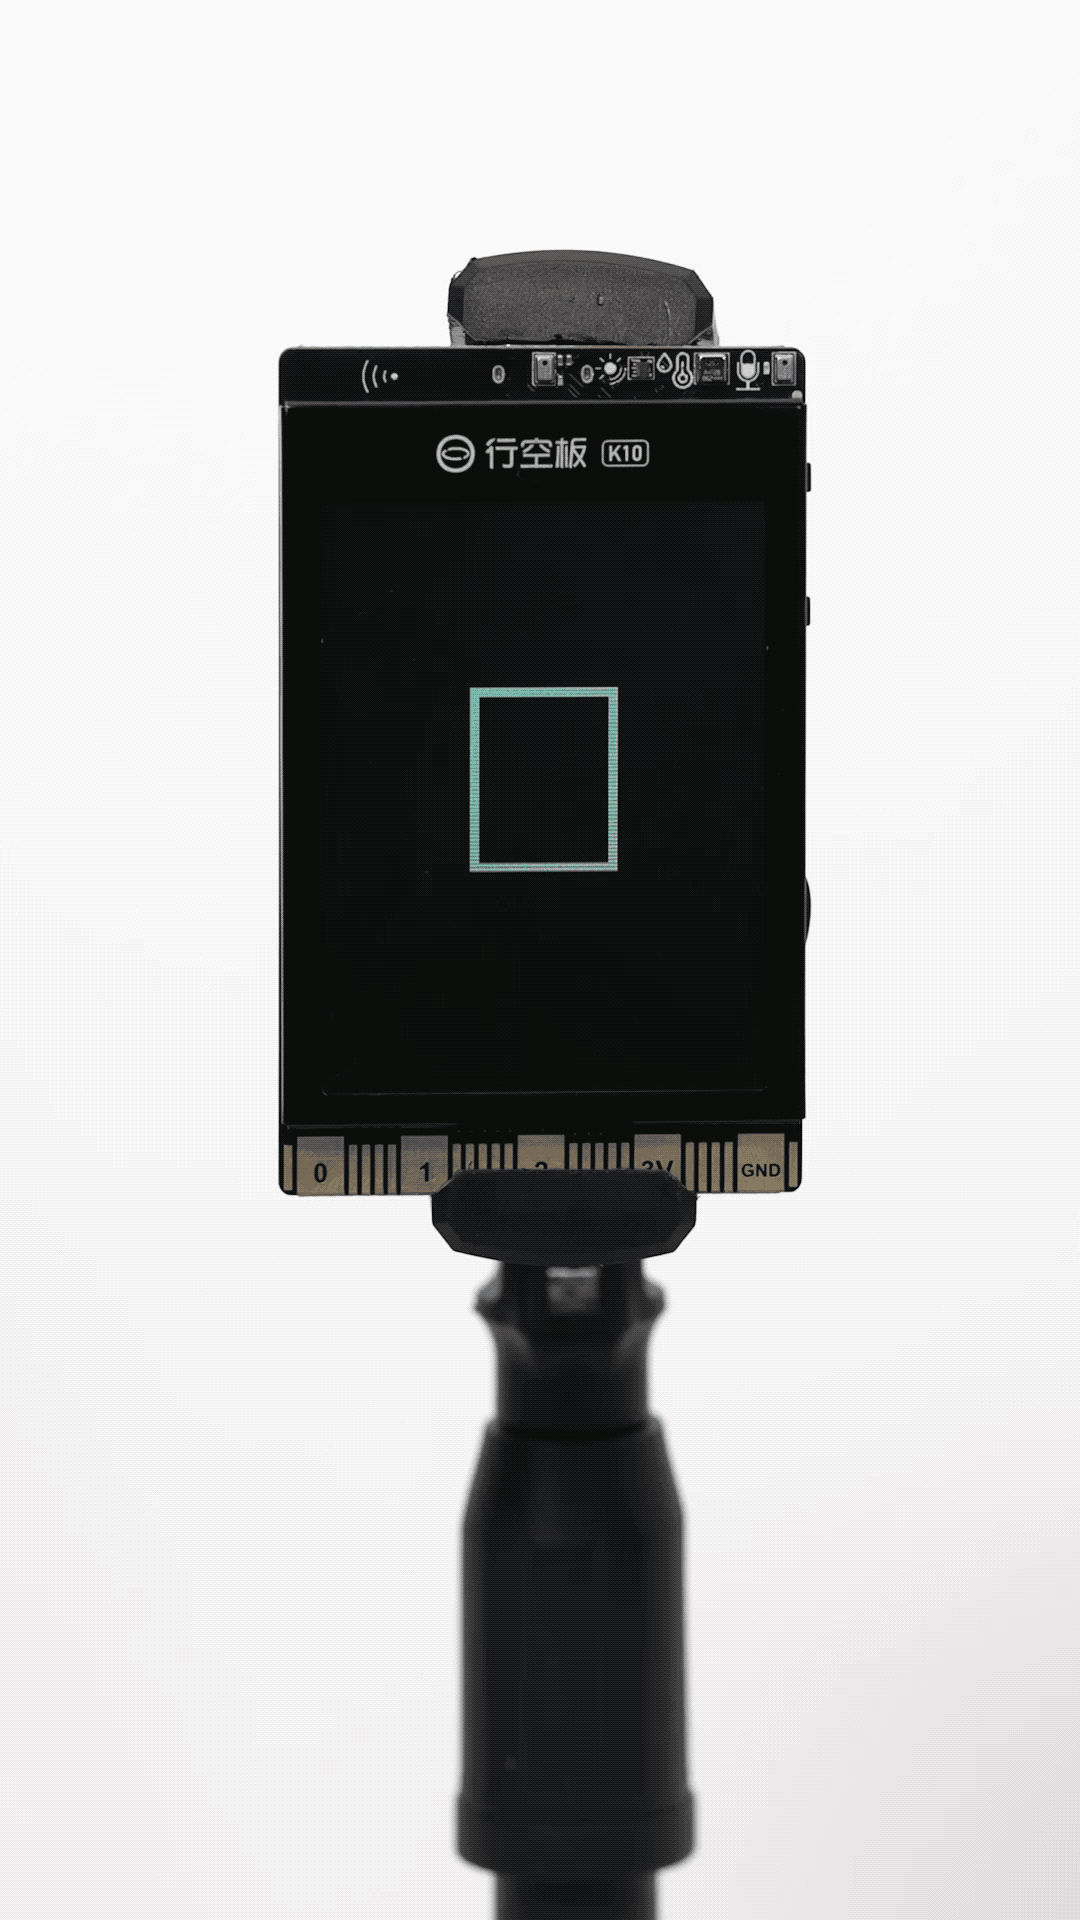
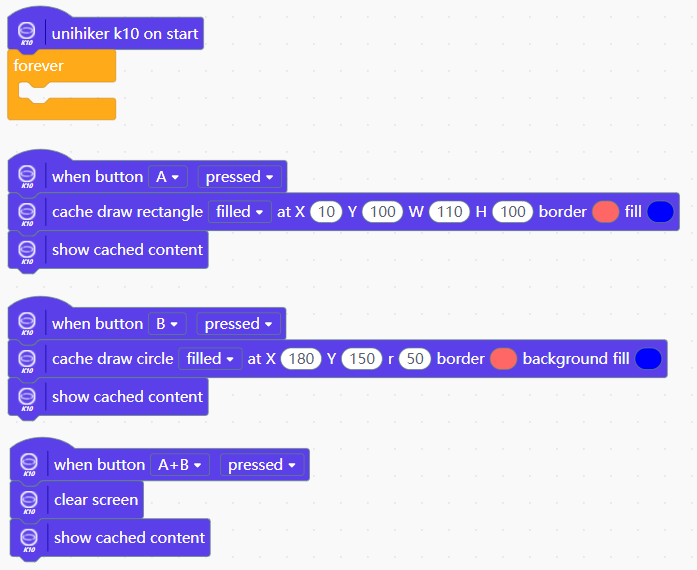
Display-Draw Rectangle
Display-QR Code

On board sensor-Button
Normal way:
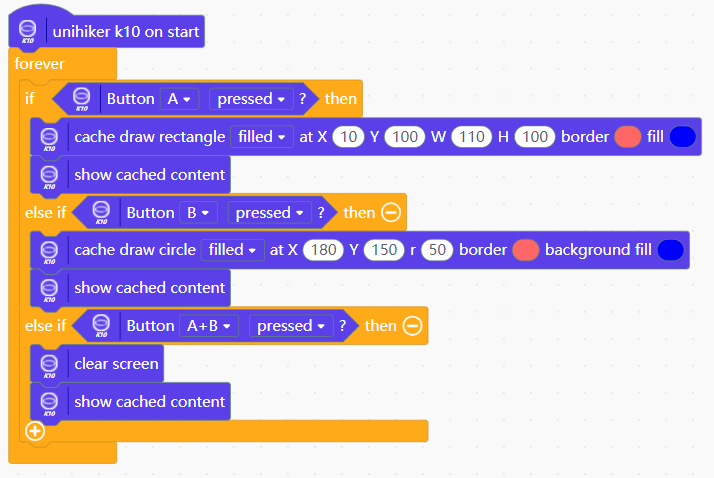 Interrupt way:
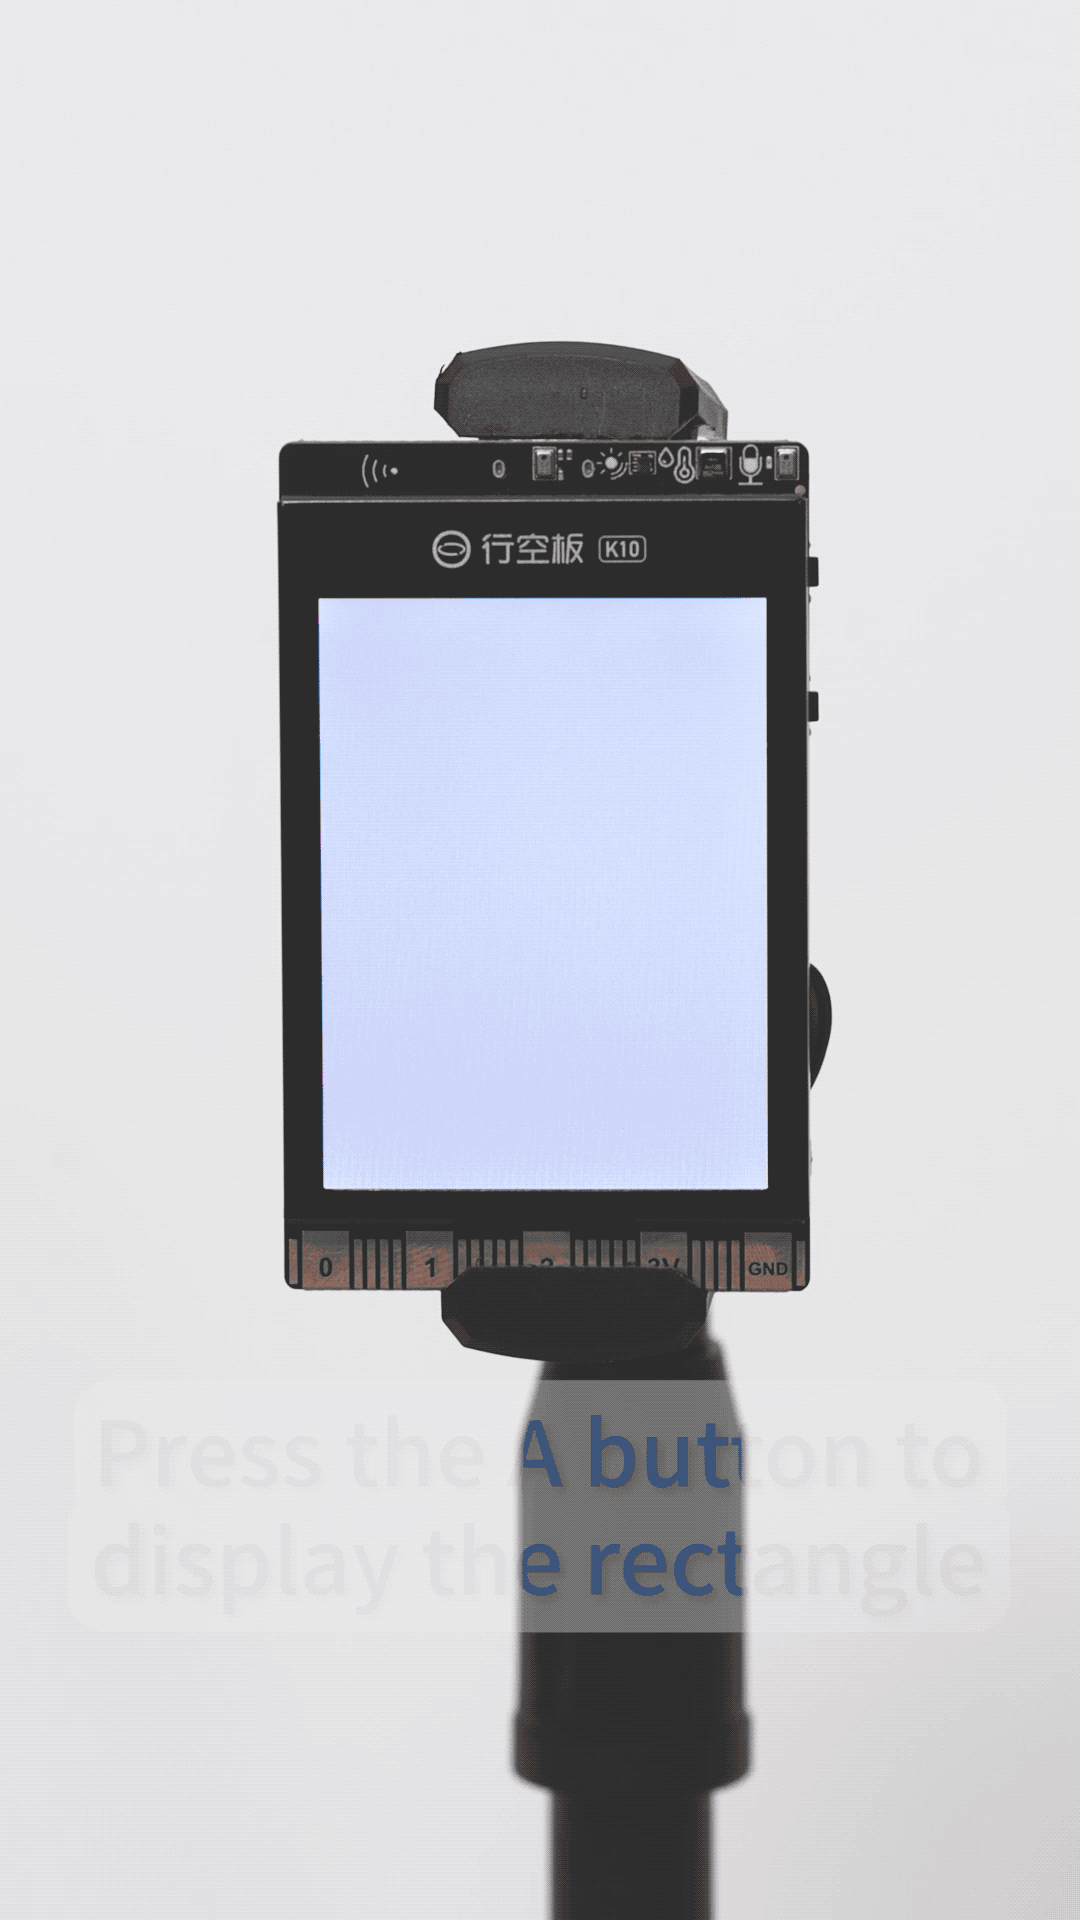
On board sensor-Accelerate sensors
Display screen tilt:
!!! Running this program requires a TF card, and the four arrow images must be saved to the SD card in advance.
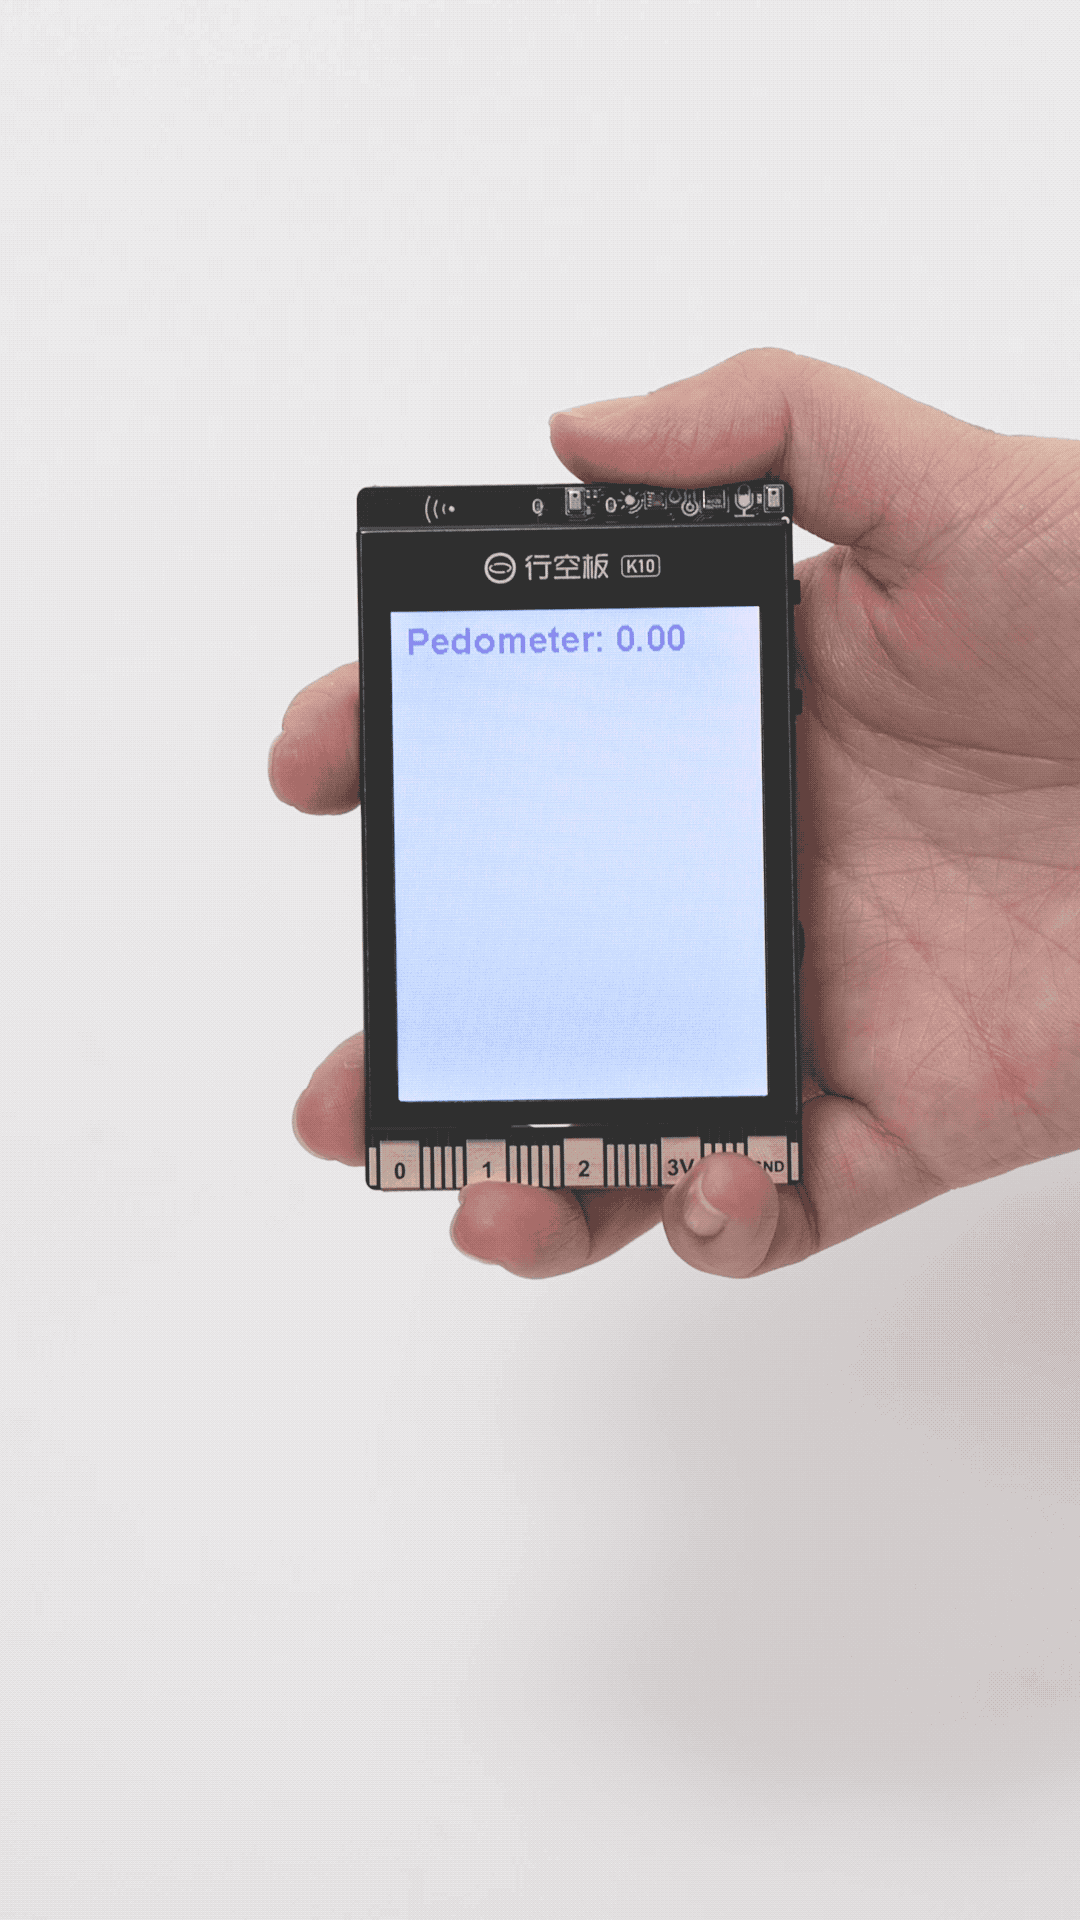
Pedo meter:
![image.[ng]](../img/example_mindplus/exampleMindplus43.png)
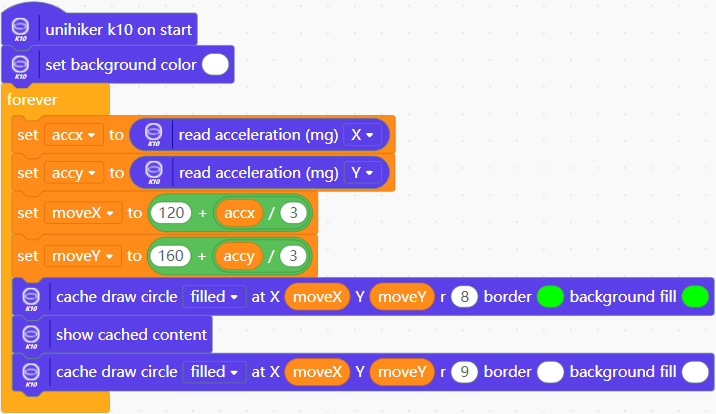
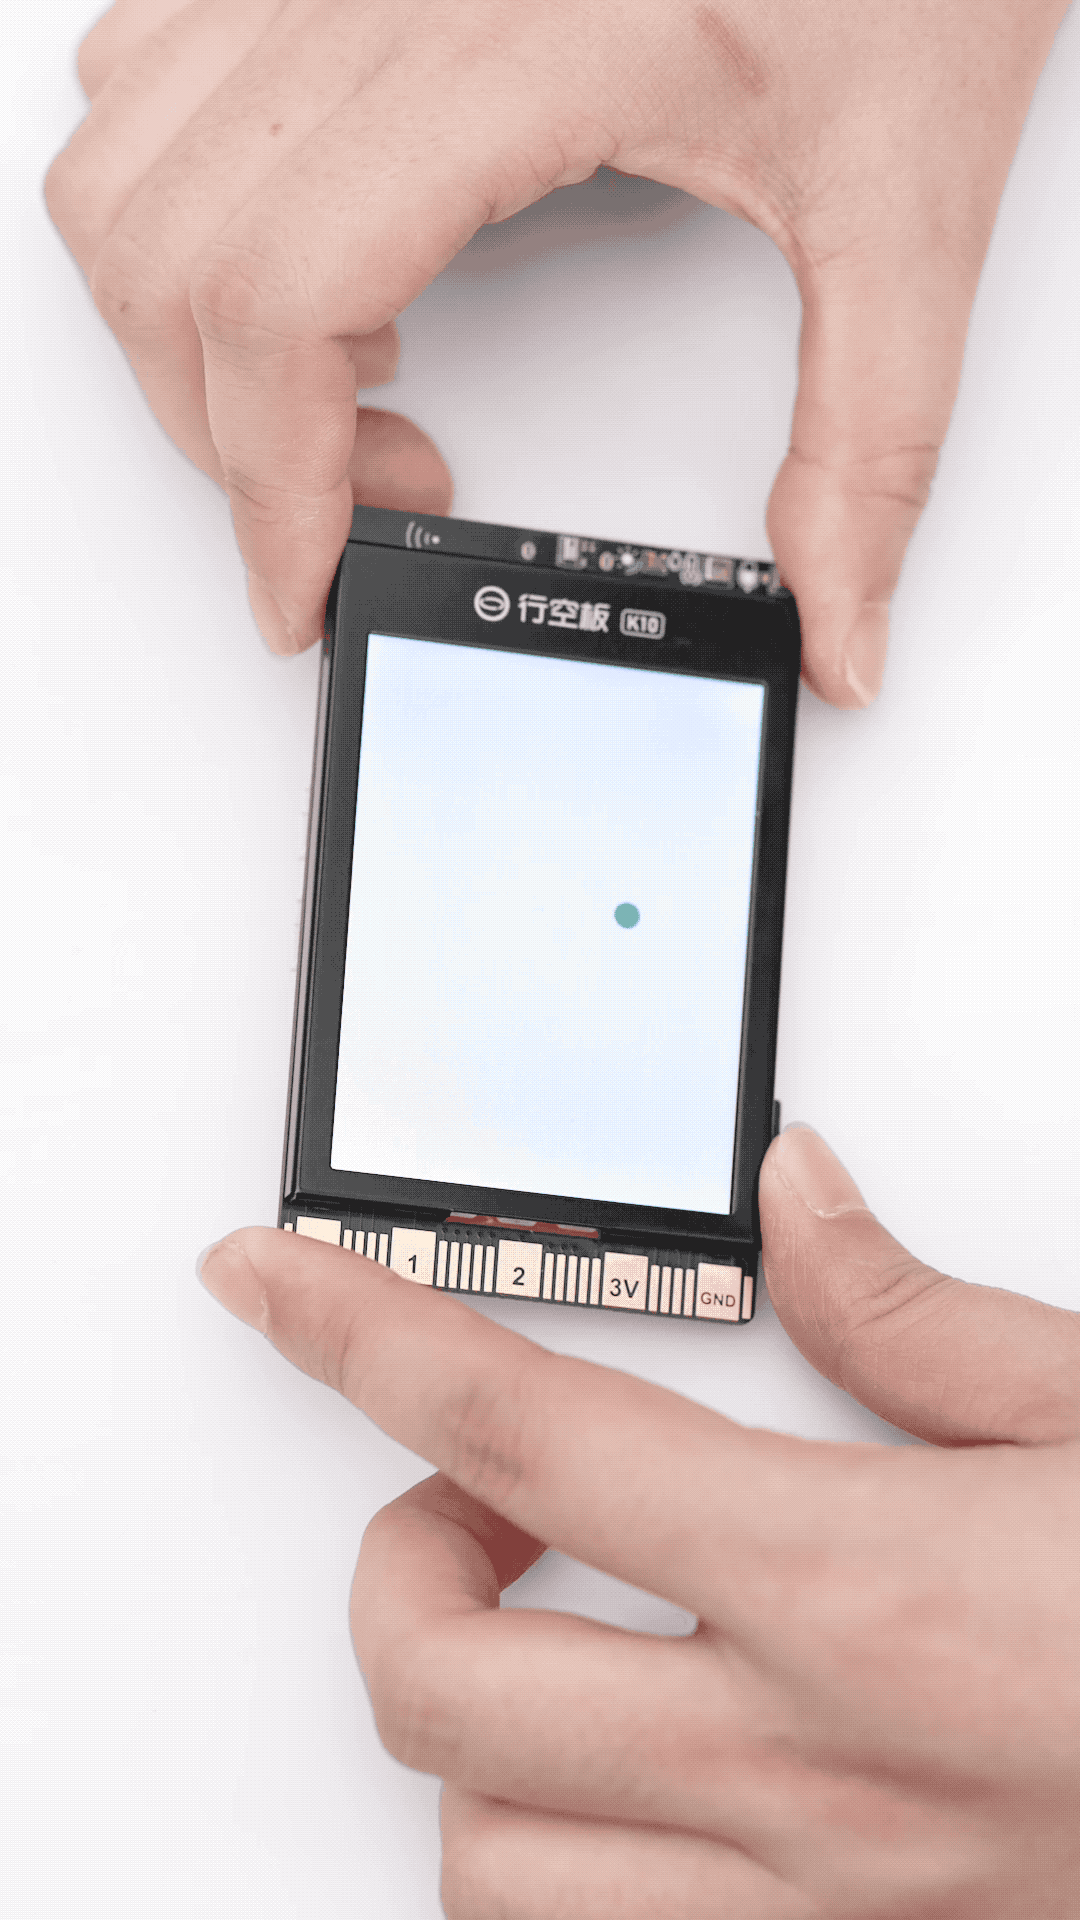
On board sensor-Accelerate Ball
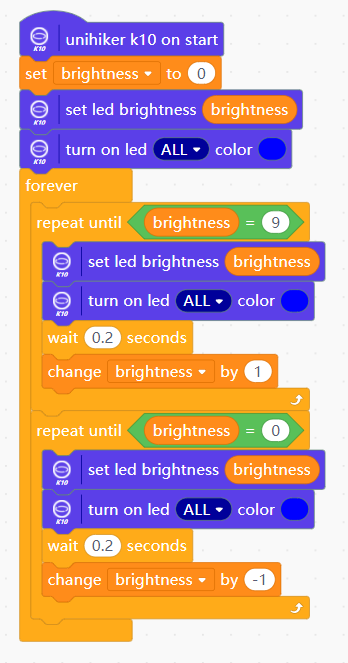
On board sensor-RGB control
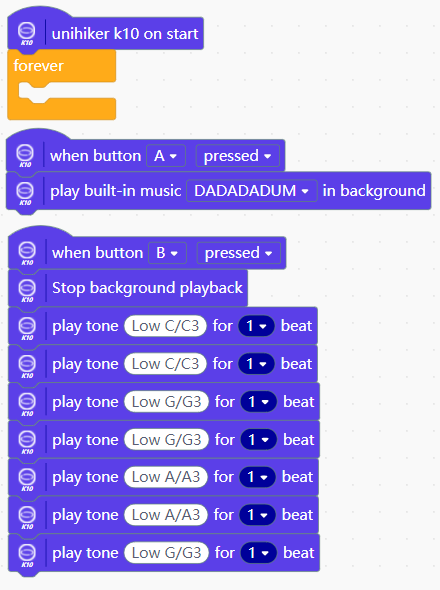
Audio-Play build-in music
Press button A to play the music “BIRTHDAY” in the background; press button B to play the alphabet song (1155661)
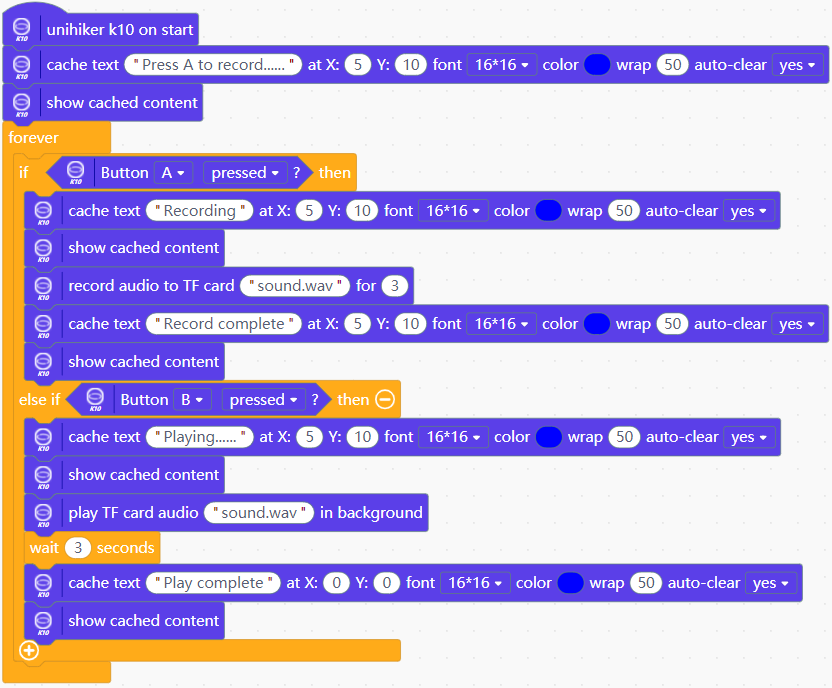
Audio-Record and play
!!! Running this program requires a TF card.
Press button A to record 3 seconds of audio and store it to the TF card; press button B to play the recorded audio.
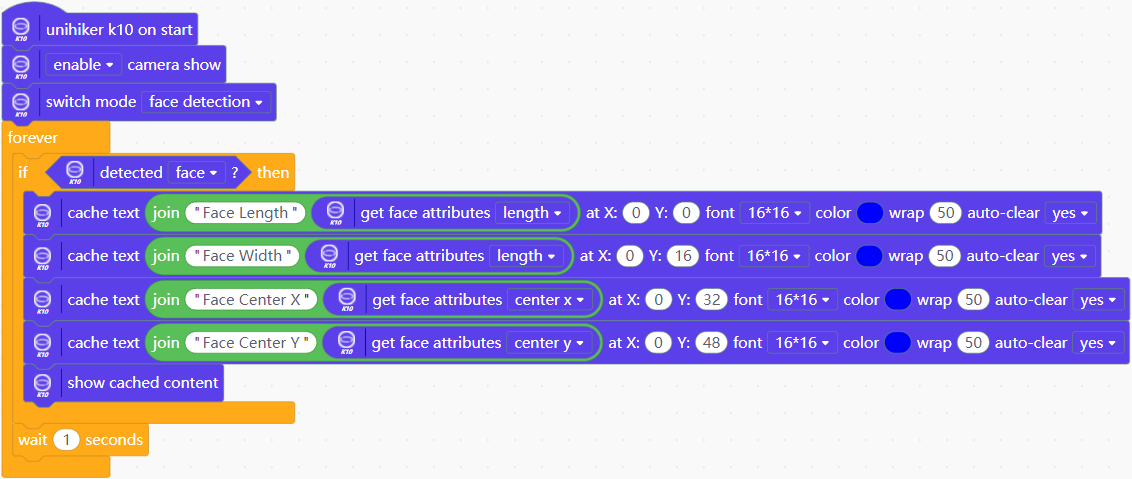
AI-Face detection
Turn on the camera, detect the face, and display the detected face length and width, as well as center point x and center point y coordinates, on the K10 screen

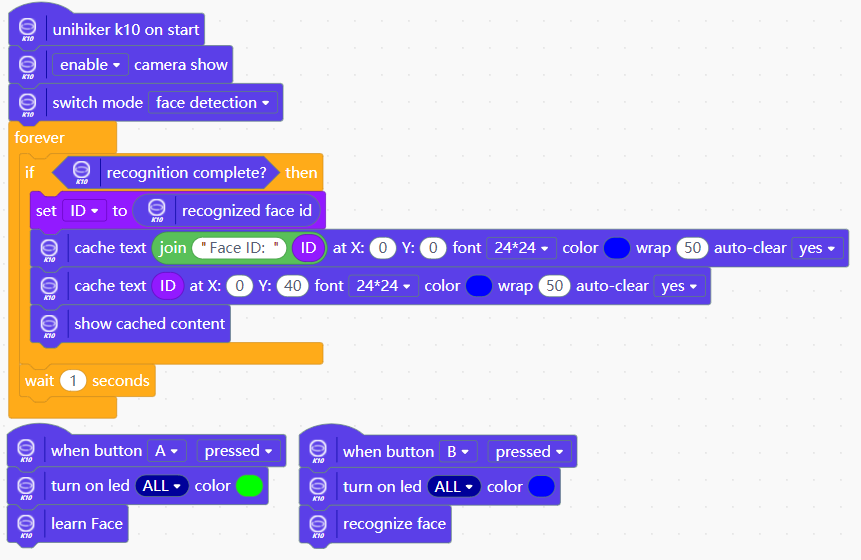
AI-Face recognition
Press button A to learn the face and green LED on; press button B to recognize the face and blue LED on, and display the recognized face ID on the K10 screen

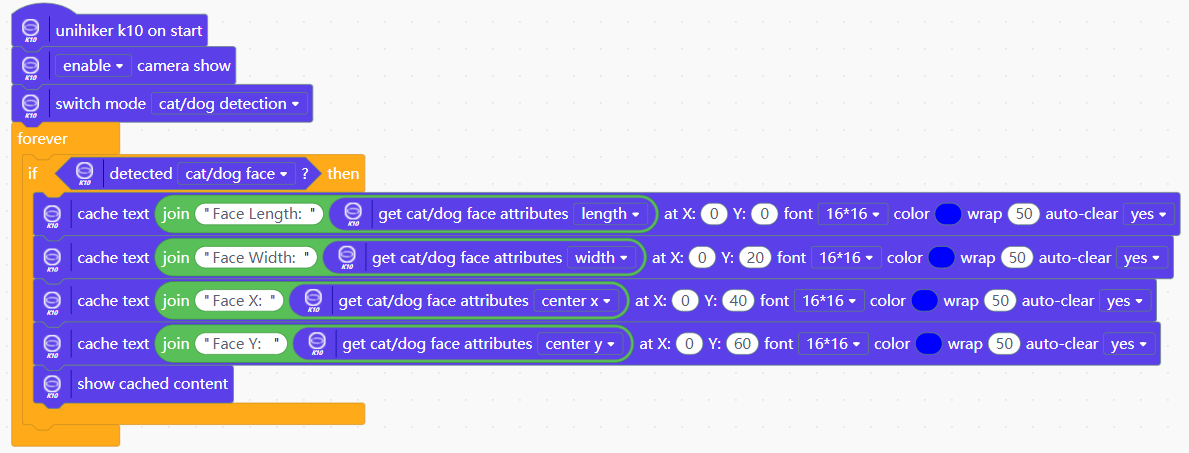
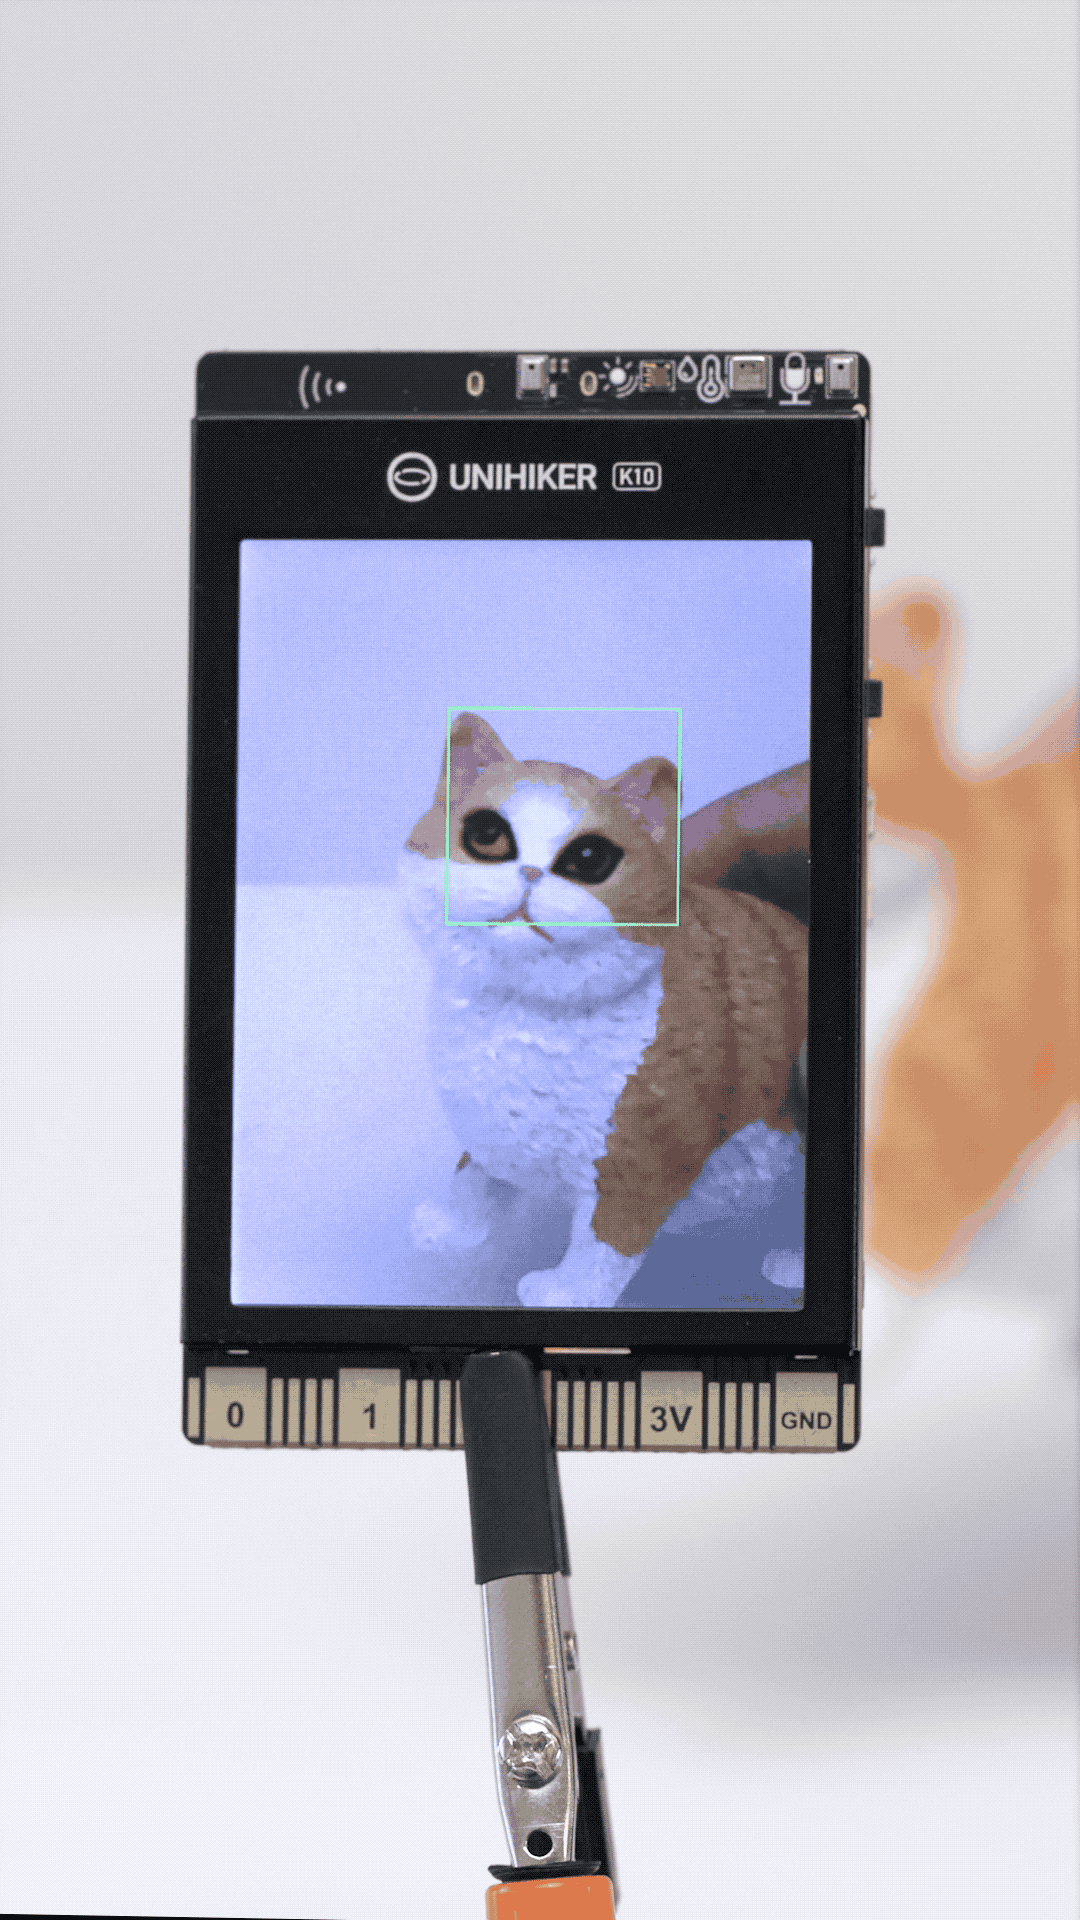
AI-Dog/Cat recognition
Turn on the camera, when the camera detects the detection of the cat, the length and width of the cat's face, as well as the coordinates of the center point x and center point y, are displayed on the K10 screen.
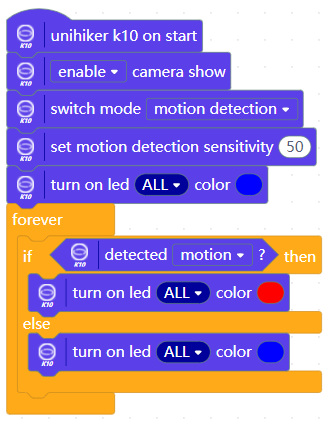
AI-Movement Detection
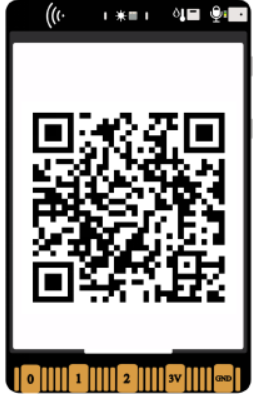
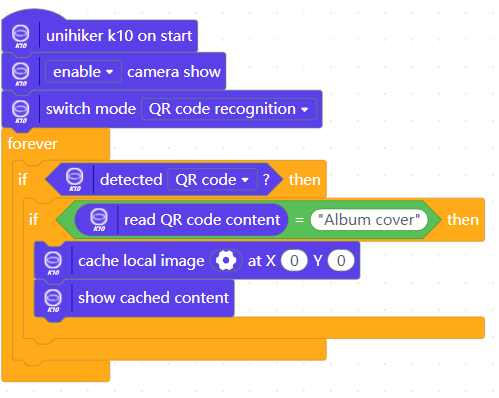
AI-QR Code Scanner
You can generate your own QR code through some free QR code generation sites.
Below is the "Album cover" QR code we generated
!!! Running this program requires a TF card, and the album cover needs to be stored in the TF card in advance.

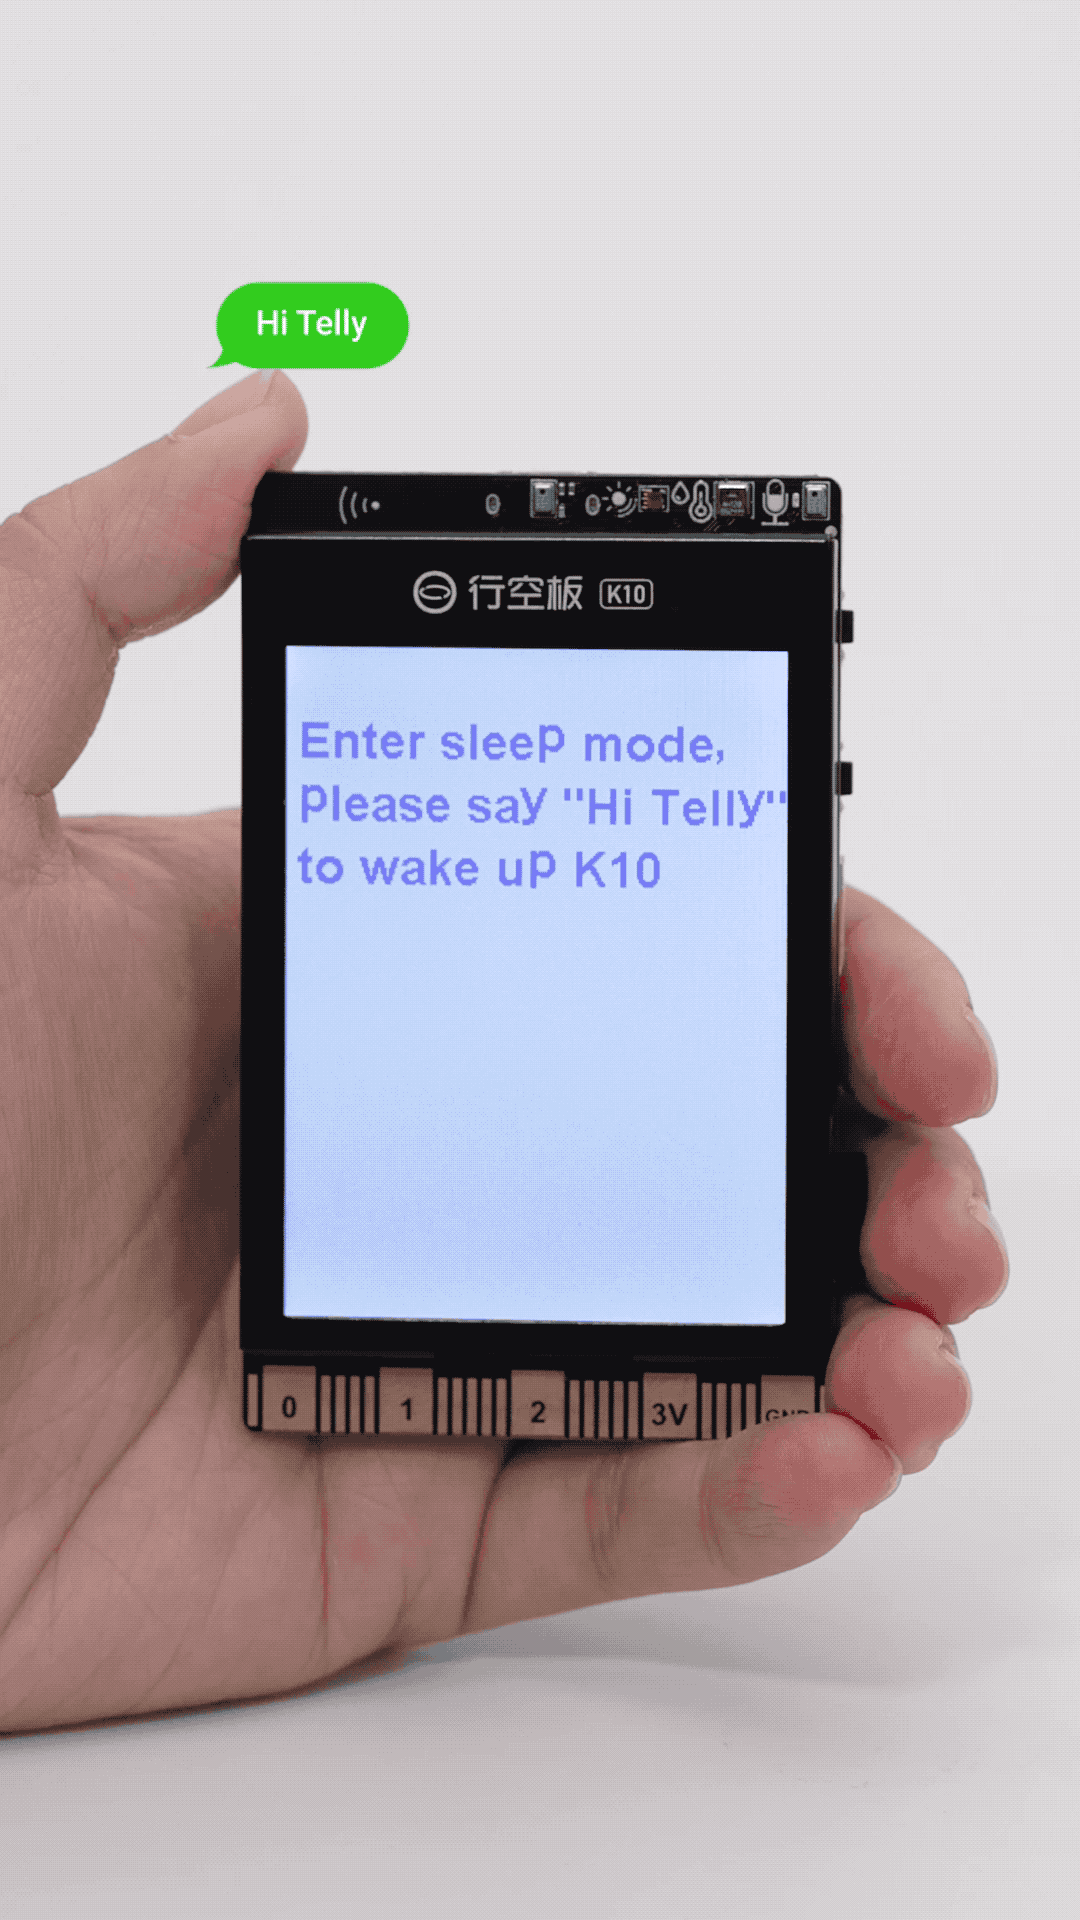
AI-Speech recognition
Wake up the voice recognition through the wake-up command "Hi,Telly", and then through the command word "Light on", "Light off" to control the on-board RGB ELD lights on K10 to turn on and off.
Note: voice command word can't use monosyllabic words.
e.g. "hi" may not work, "hello" is fine. 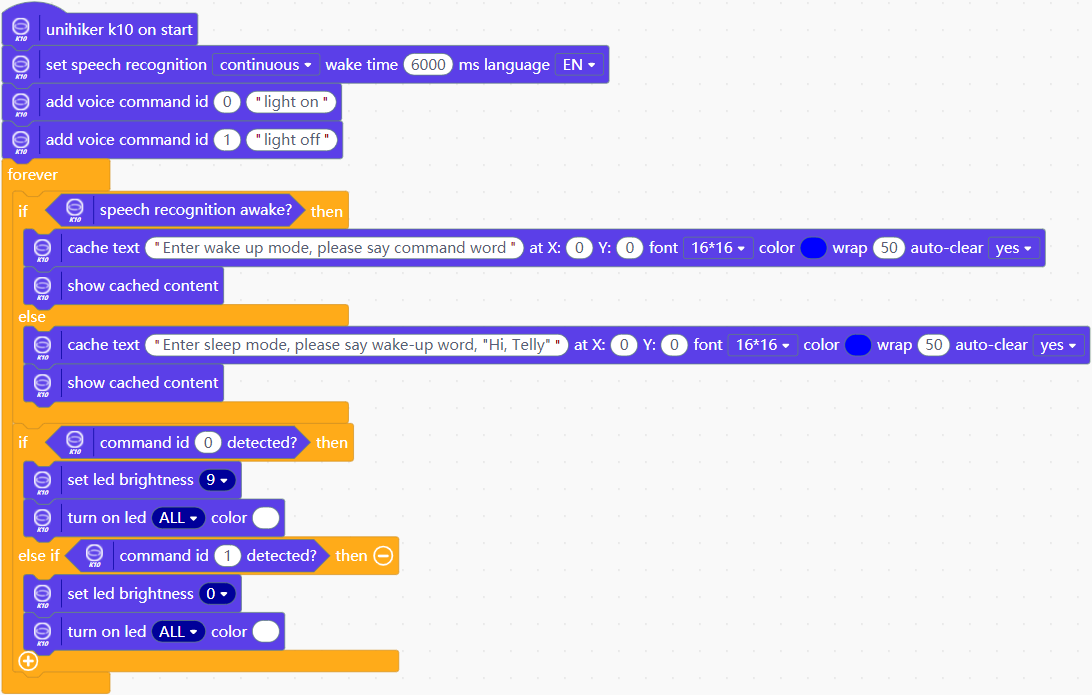
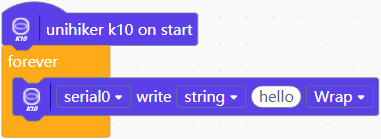
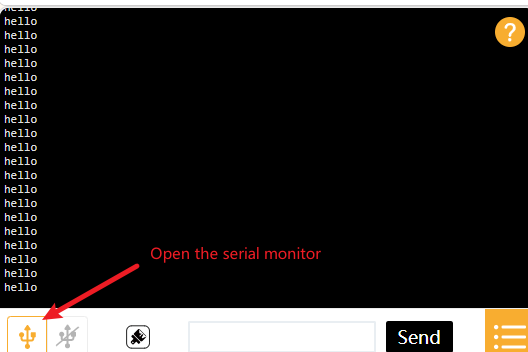
Serial port-Serial print
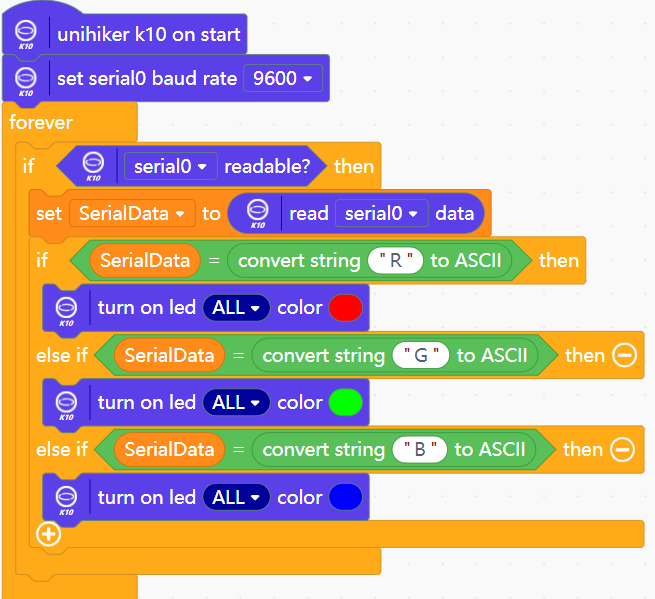
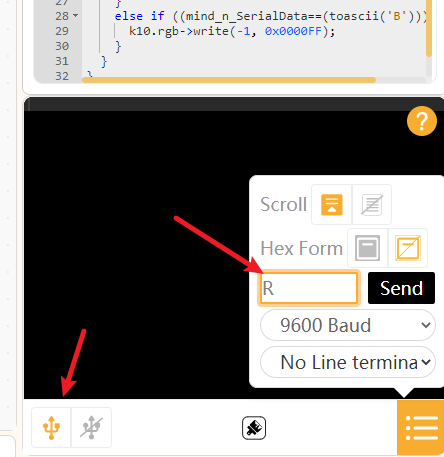
Serial port-Serial receive
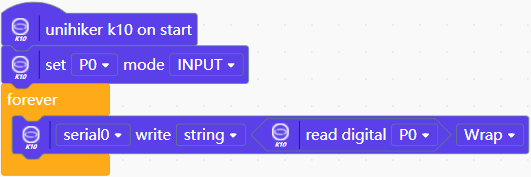
GPIO-Digital input
Connect a button to P0 and the value of the serial monitor will change when the button is pressed.
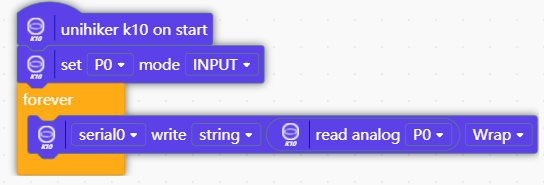
GPIO-Analog input
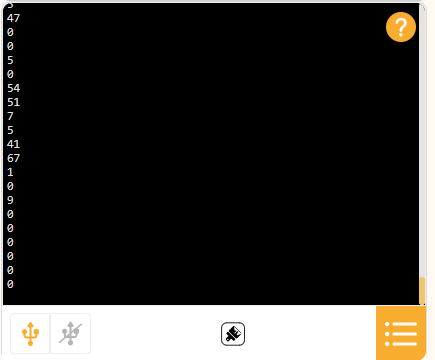
Read the analog value on P0, and serial output.
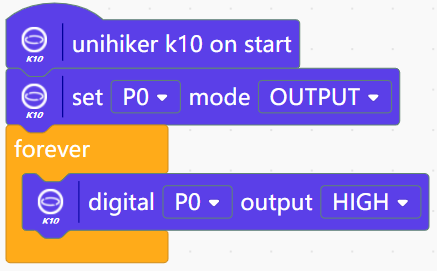
GPIO-Digital output
Connect an LED on P0, then out put high level on P0 to set the LED on.